Attending an international conference is a
vital part of any academic or professional career. It’s an unparalleled
opportunity to present your work, network with global experts, and stay at the
forefront of your field. However, the most critical hurdle to clear before you
can even think about booking a flight is securing the necessary visa.
The visa application process can seem
intimidating, but with careful planning, it can be a smooth and straightforward
procedure. This guide will walk you through the entire process, from initial
preparation to final approval, ensuring you have everything you need for a
successful application.
(Planning Tip: As it is now
mid-September 2025, if your conference is in the first half of 2026, it is the
perfect time to begin this process.)
Phase 1: The Groundwork – Before You
Apply
Completing these foundational steps before
filling out any forms will save you time and prevent common mistakes.
1. Identify the Correct Visa Type This is your most important first step. Attending a conference is not
considered tourism. Depending on the country, you will likely need one of the
following:
- Business Visa: The most common
category for conference attendance.
- Visitor Visa (Business Stream) or Short-Stay Visa: Used by countries like the UK, Australia, and the Schengen
Area.
- Conference Visa: A specific
category offered by a few countries.
Action: Go
to the official website of the embassy or consulate of the destination country
in your country of residence. This is the only reliable source of information.
Applying for the wrong visa type is a frequent cause for rejection.
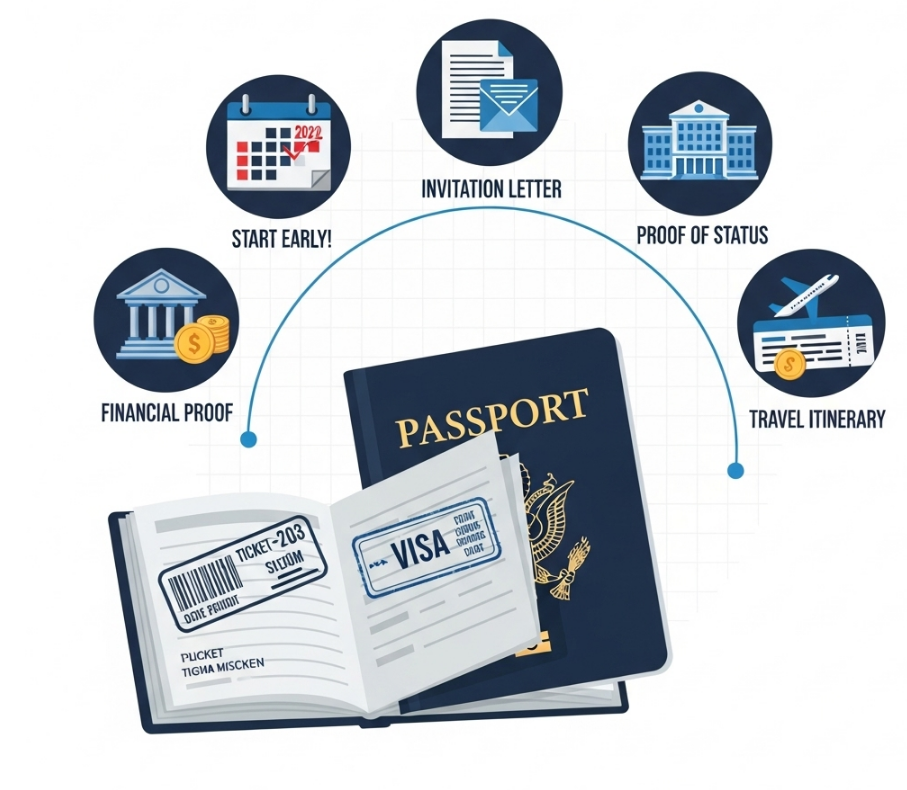
2. Secure the Official Letter of
Invitation This is the cornerstone of your visa
application. The letter is provided by the conference organizers, typically
after you have registered and paid the registration fee. It must be an official
document that includes:
- Your full name and passport details.
- The conference's official name, dates, and venue address.
- Confirmation of your registration and/or your role as a
speaker/presenter.
3. Check Embassy Requirements and
Processing Times Every country has different
requirements and timelines. On the official embassy website, find the document
checklist and the estimated visa processing time. Plan accordingly. It
is strongly recommended to start the entire visa application process at
least 3 months before your planned travel date.
Phase 2: Document Preparation – The
Definitive Checklist
While requirements vary, nearly all
conference visa applications will require the following documents.
Core Documents:
- Passport: Must be valid for at
least six months beyond your intended departure date from the
conference country and have at least two blank pages.
- Visa Application Form: Usually
completed online, then printed and signed.
- Visa Photos: Must meet the strict
specifications for size, background color, and age (usually taken within
the last six months).
Conference-Specific Documents:
- Official Letter of Invitation: (See
Phase 1).
- Proof of Conference Registration and Payment: Your confirmation email and receipt.
- Paper Acceptance Letter: If you are
presenting, this is very strong supporting evidence.
- Travel Itinerary: A day-by-day plan
of your trip.
Proof of Your Status (Ties to Your Home
Country):
- Letter from Your Employer or University: Printed on official letterhead, this letter must state your
position, salary (if applicable), the duration of your employment/studies,
confirm that you have been granted leave for the conference, and
explicitly state that you are expected to return to your job or studies
after the trip. This proves you have strong reasons to return home.
Financial Documents:
- Proof of Financial Support: Recent
bank statements (usually 3-6 months) showing you have sufficient funds to
cover your flight, accommodation, and living expenses.
- Sponsorship Letter: If your
university or company is funding the trip, you need an official letter
stating what expenses they will cover, along with their financial
statements.
Travel Arrangements:
- Round-trip Flight Itinerary: Do
not purchase non-refundable tickets before your visa is approved. You
can get a flight reservation or a provisional booking from a travel agent
or online service.
- Hotel Booking Confirmation: Book a
fully refundable or pay-at-the-hotel room.
- Travel Medical Insurance: This is
mandatory for many countries (e.g., the Schengen zone) and highly
recommended for all others.
Phase 3: The Application Process
- Fill Out the Application Form:
Complete the form online with 100% accuracy and honesty.
- Schedule an Appointment: Most
countries use third-party Visa Application Centers (VACs), such as VFS
Global or TLScontact, to handle submissions. You will need to book an
appointment on their website.
- Submit Documents and Biometrics: On
your appointment day, you will submit your physical documents and have
your fingerprints and photo taken.
- Pay the Visa Fee: This is paid
during the application process.
Key Advice & Common Pitfalls
- Start Early: Time is your biggest
asset. Do not underestimate how long the process can take.
- Be Truthful: Never provide false
information or documents. The consequences can be severe, including
long-term visa bans.
- Prove Your Ties to Home: The
primary concern of any visa officer is that you will not overstay your
visa. Your job, studies, family, and financial stability are all evidence
that you will return home.
- Book Refundable Options: Protect
yourself financially by booking refundable flights and hotels until you
have the visa in your passport.
By following these steps methodically, you
can navigate the visa process with confidence and look forward to a successful
and enriching conference experience.